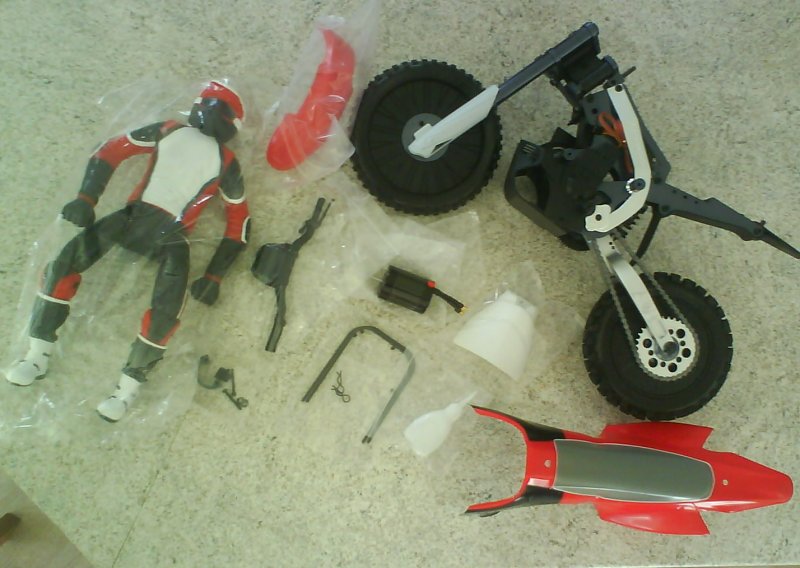
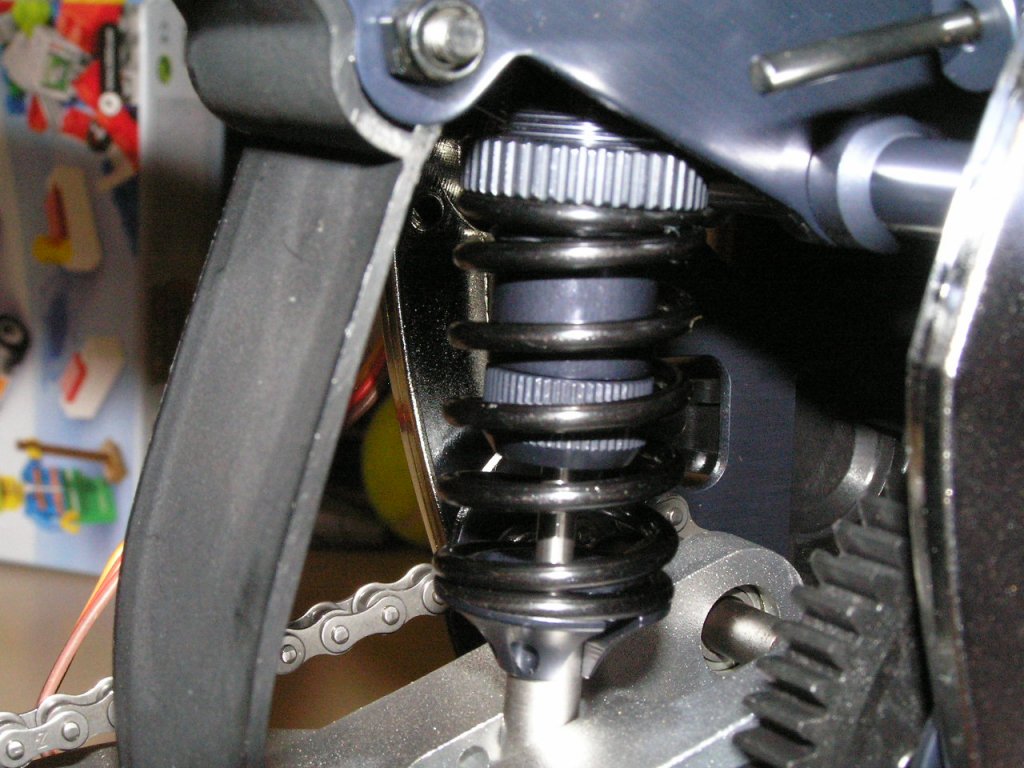
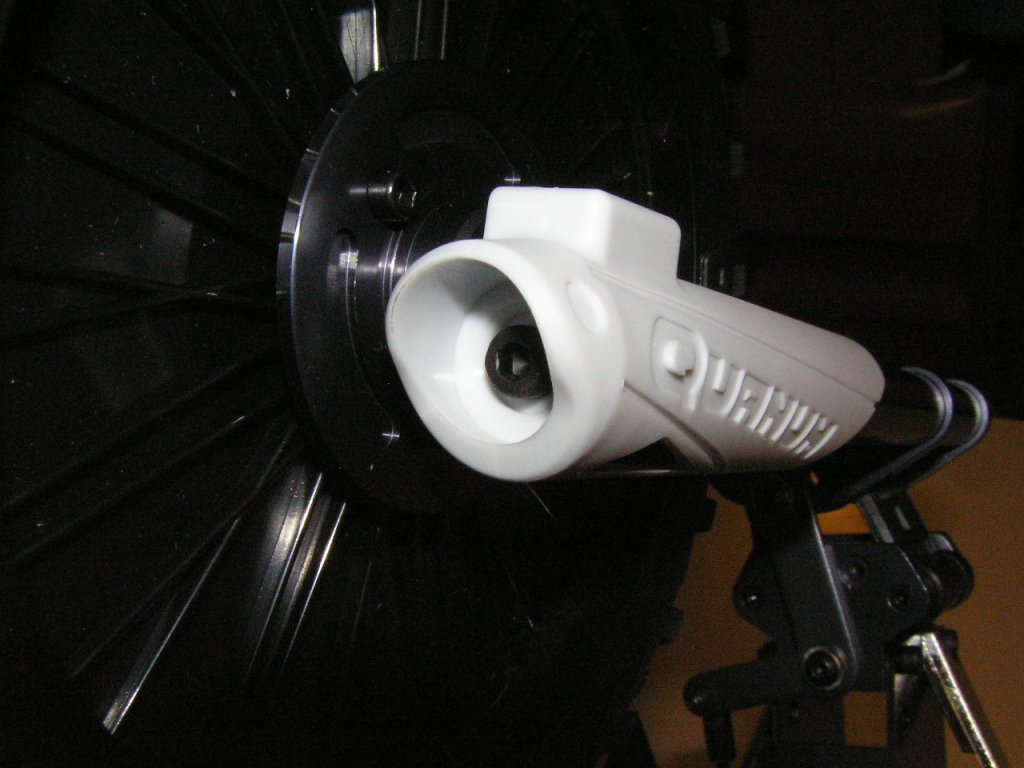
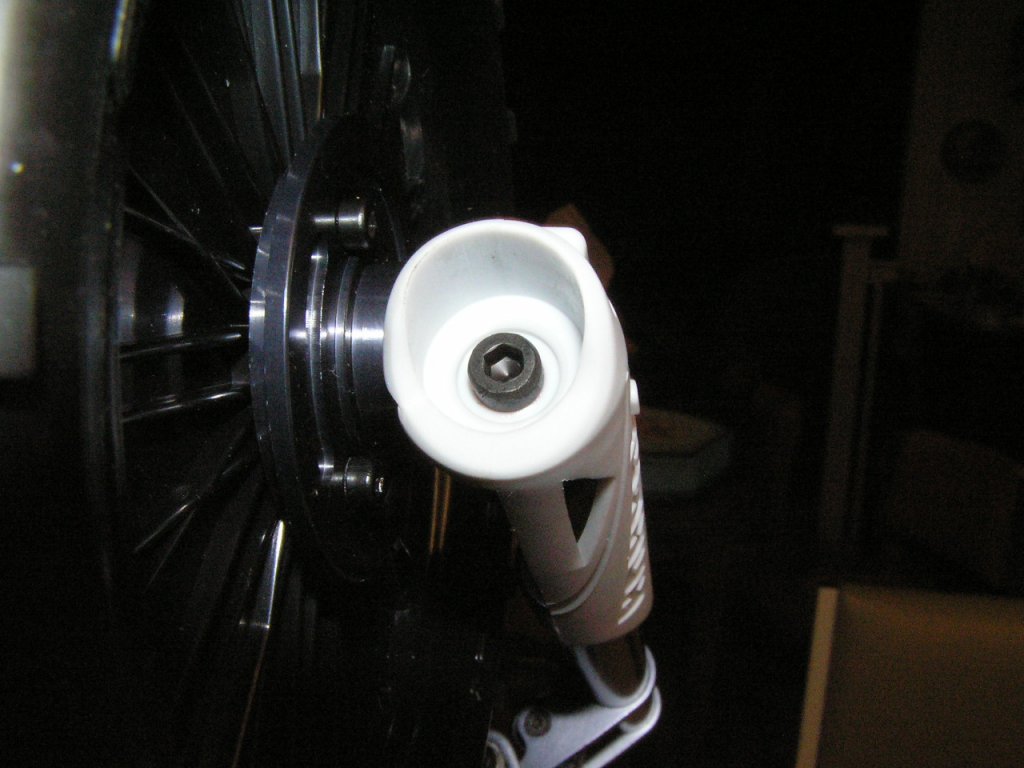
optionally, replace with a Traxxas E-Revo
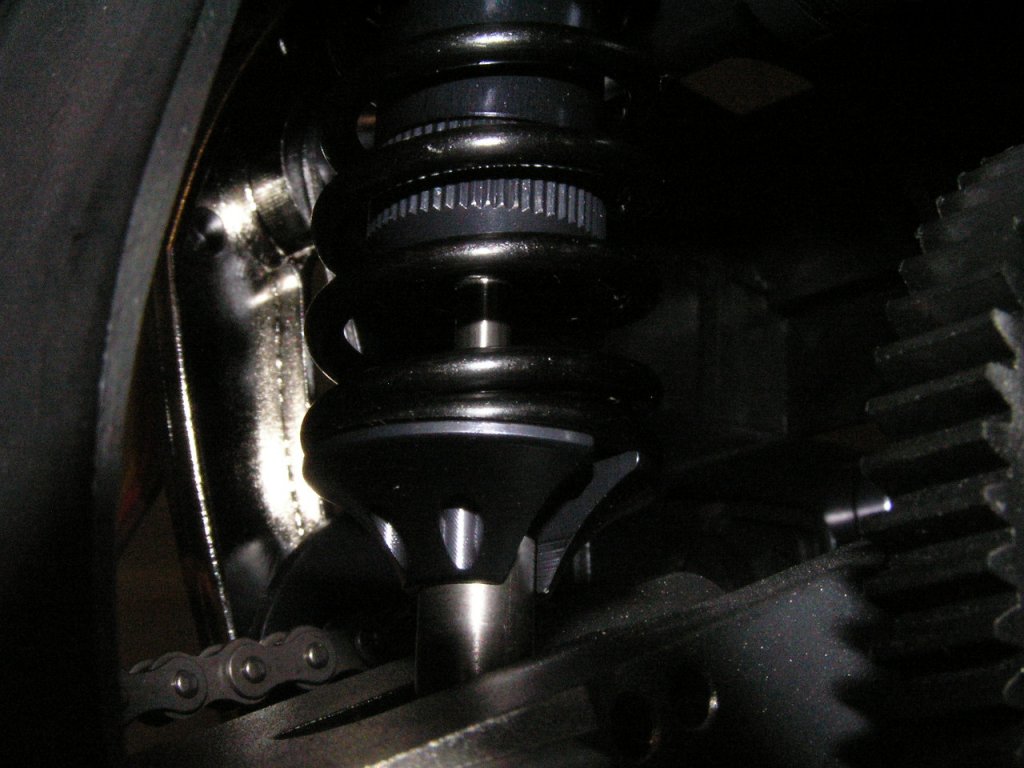
5608 shock. It has longer travel and better seals.
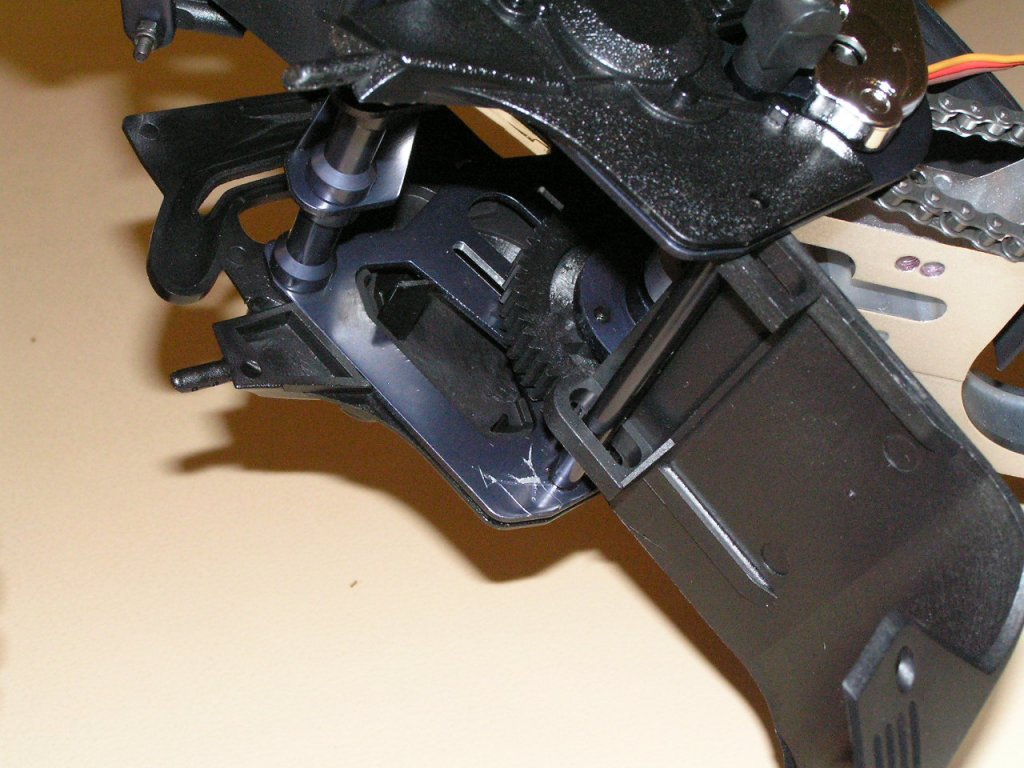
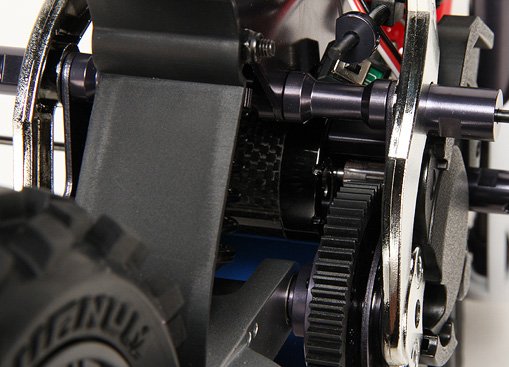
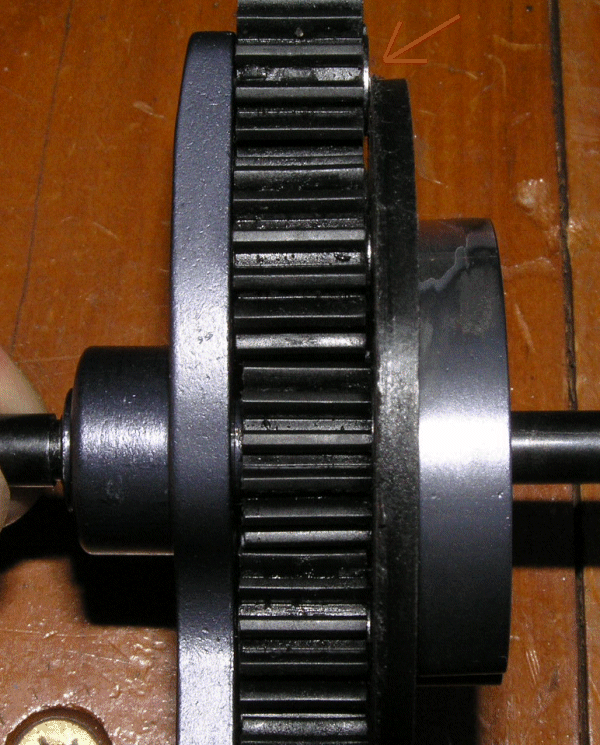
Pinion/Spur Gear Mesh:
being a nylon spur gear, set it up on the
tight side, compared to 1/8 nitro truggy which has a metal spur, you
should just be able to see/ feel a very small gap when rocking the
Pinion/Spur gear in mesh.
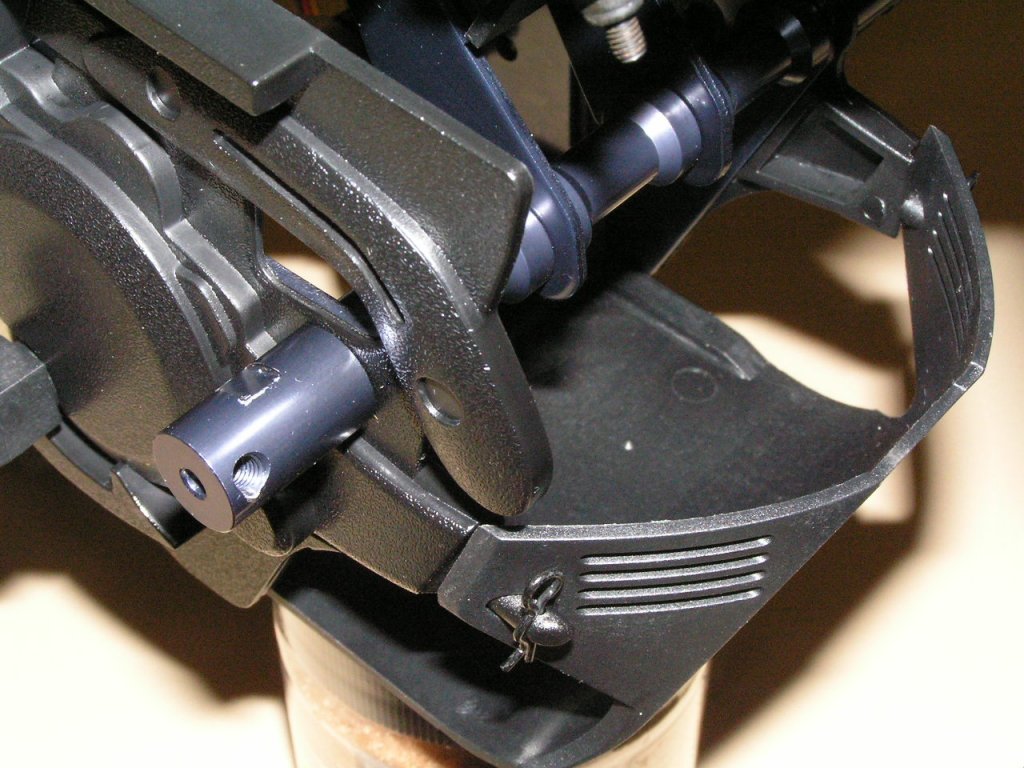
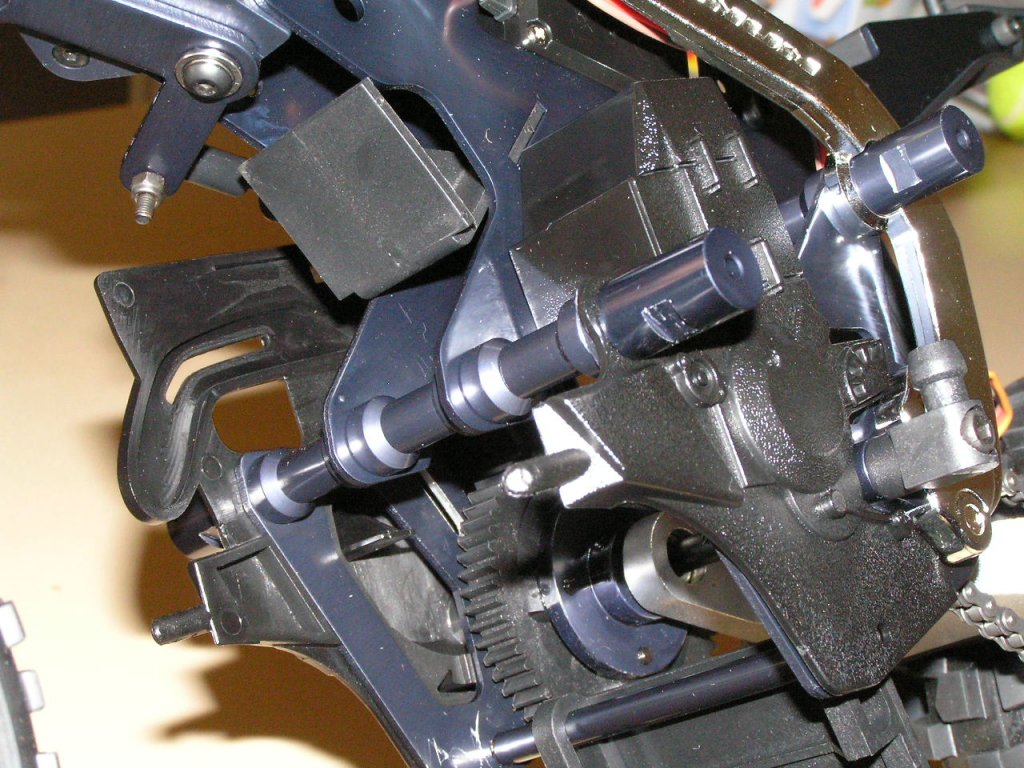
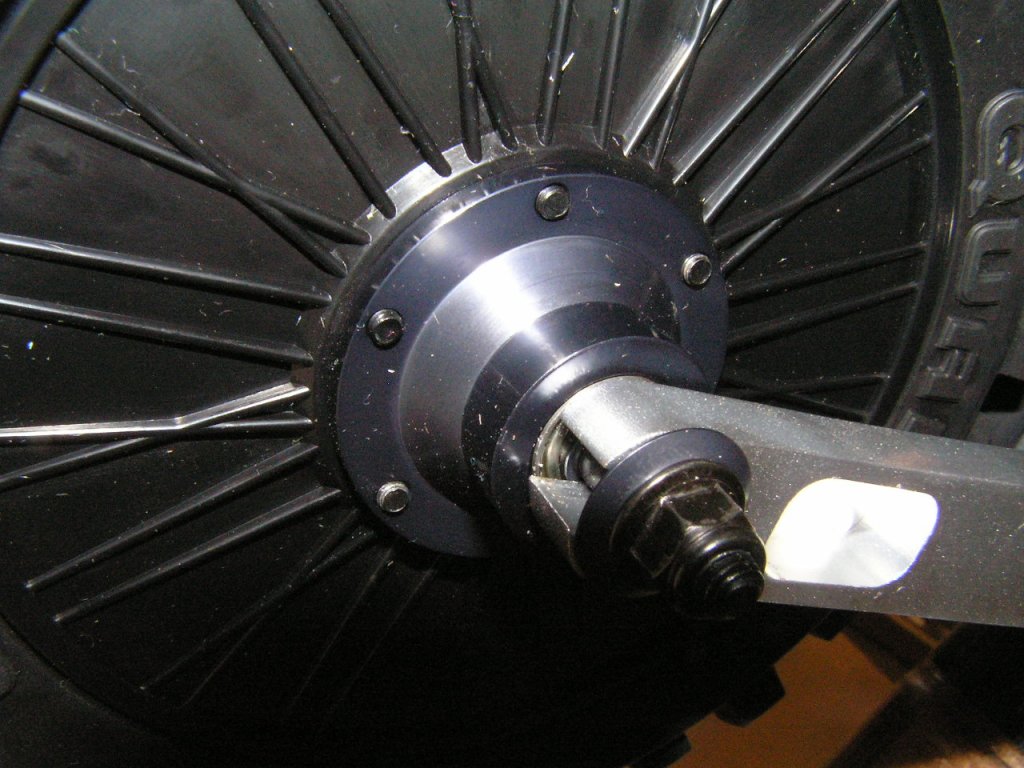
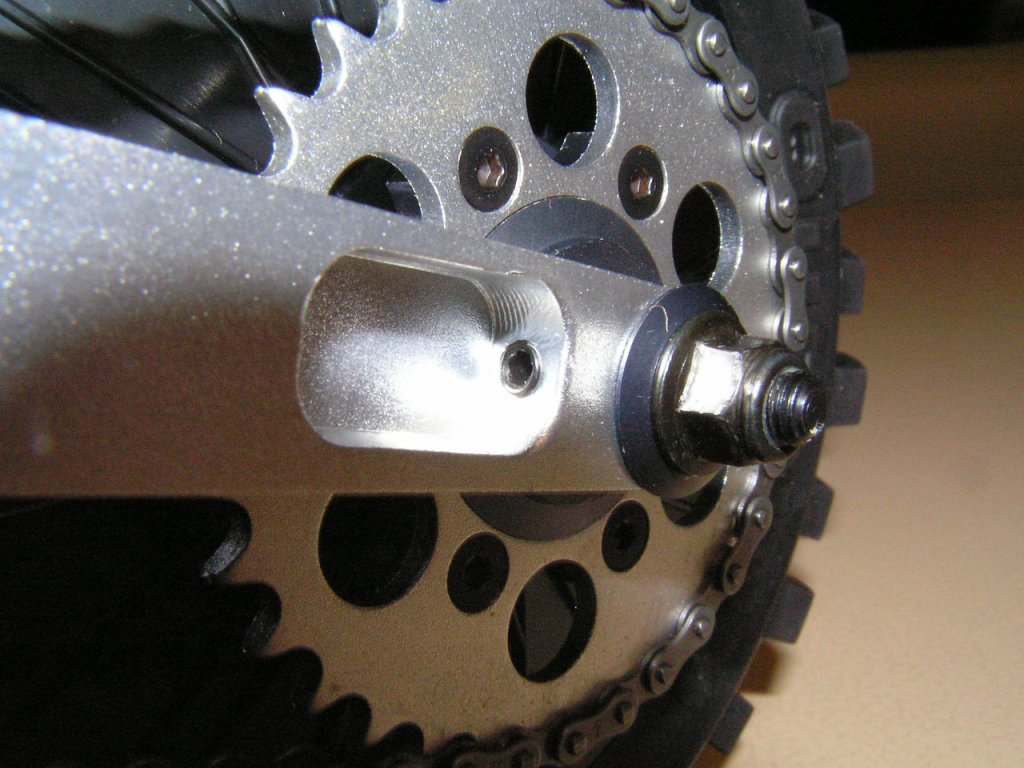
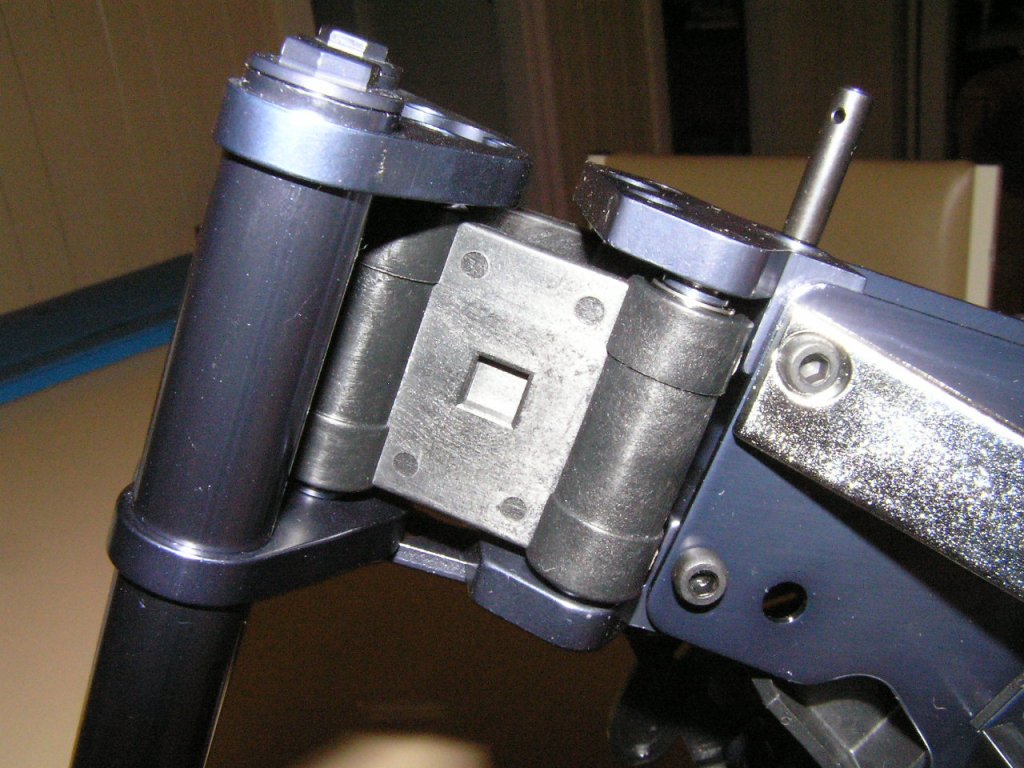
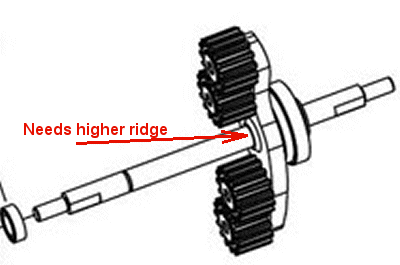
Swingarm Shaft:
It is highly recommended that the
swingarm/drive shaft
is replaced with the
upgraded shaft before your first run.
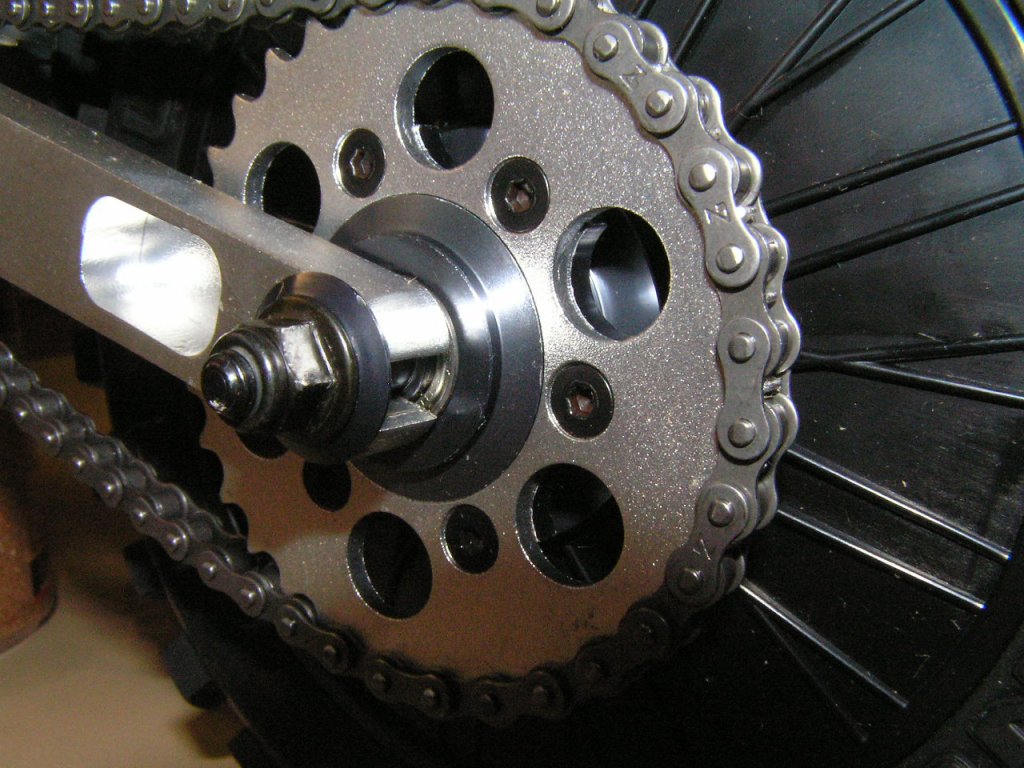
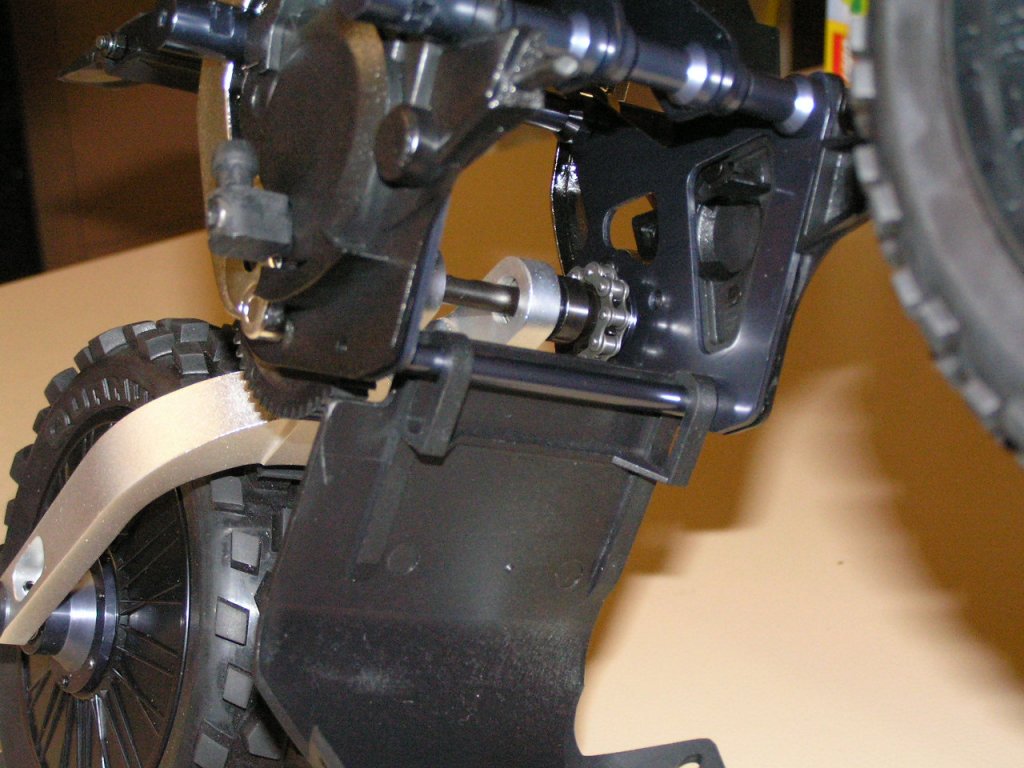
Move the spur gear and sprocket in to
capture the swingarm bearings so as to remove any side movement
of the swingarm.
Ensure the spur gear and sprocket set
screws are securely loctited onto the divets on the shaft.
The hardened tool-grade shafts may not
bend but can still be broken. It is paramount that proper chain
tention is maintained at all times.
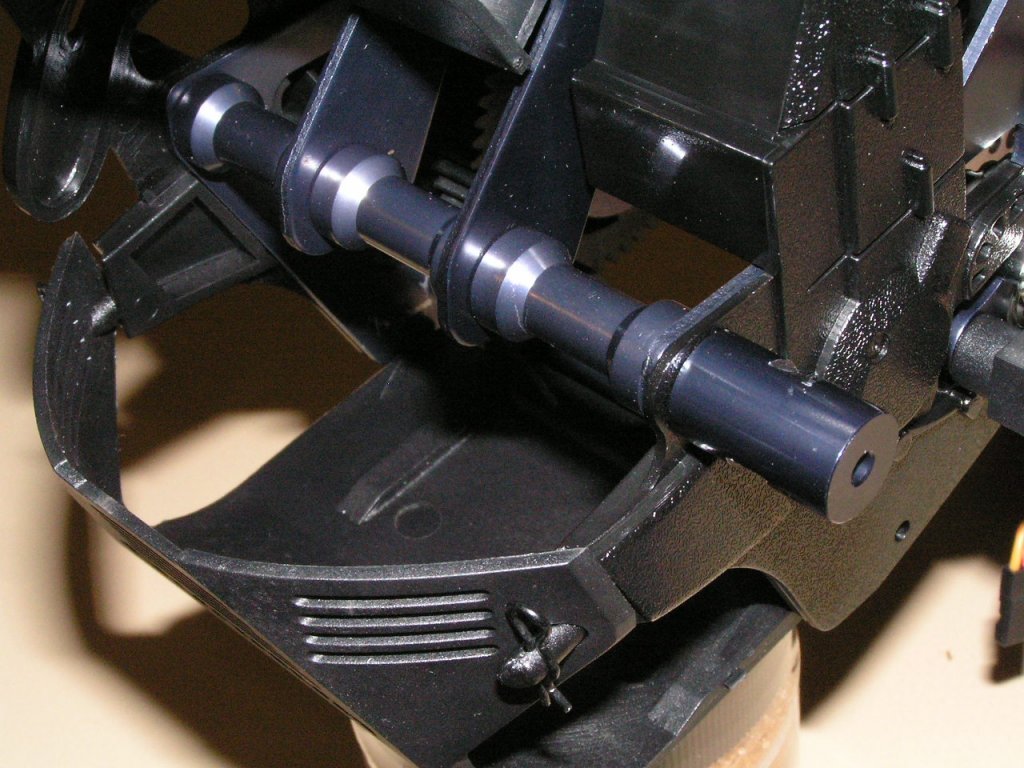
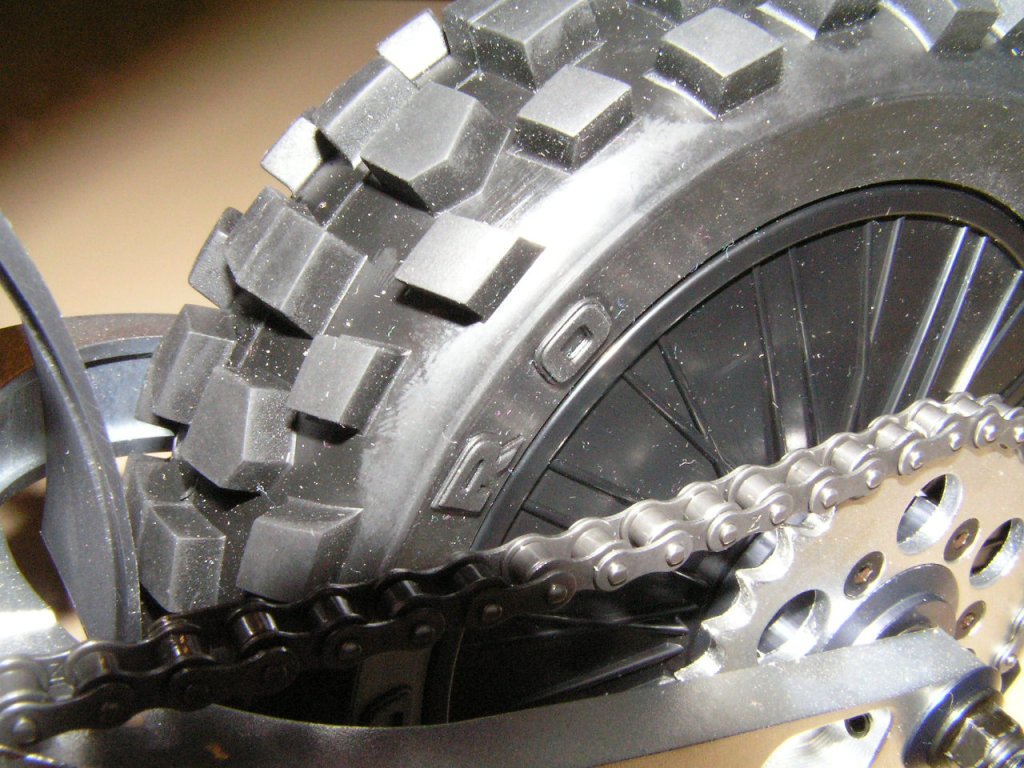
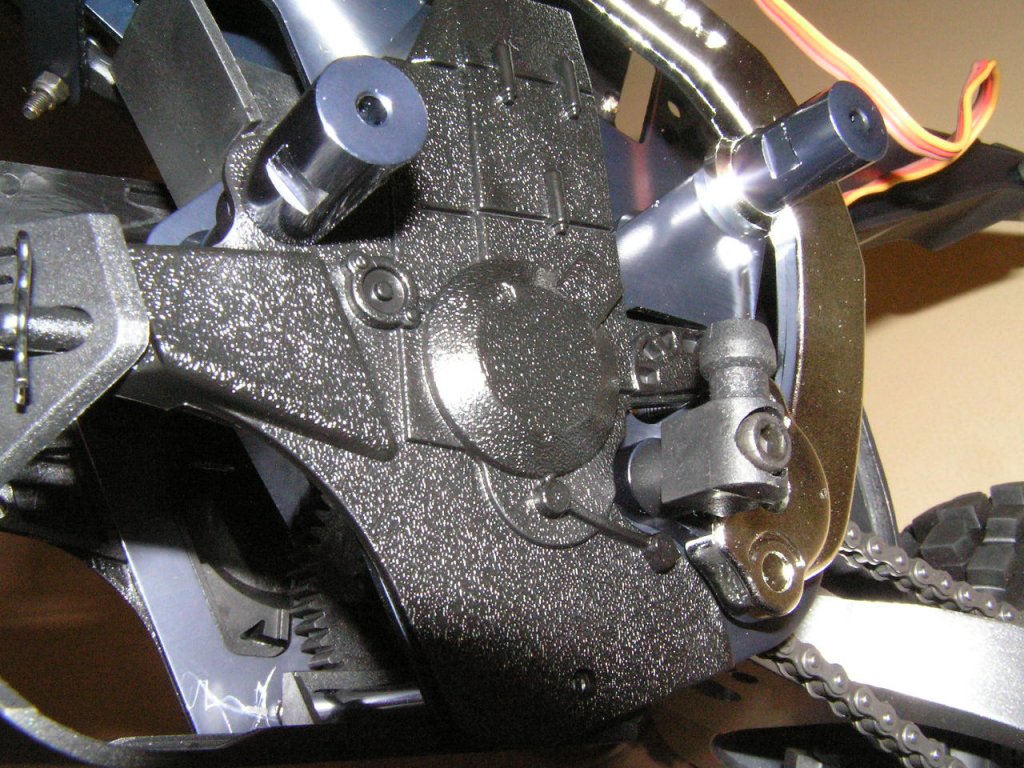
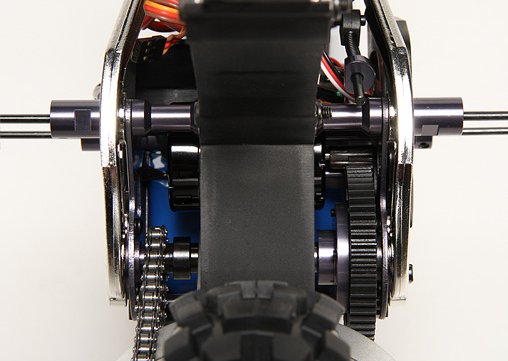
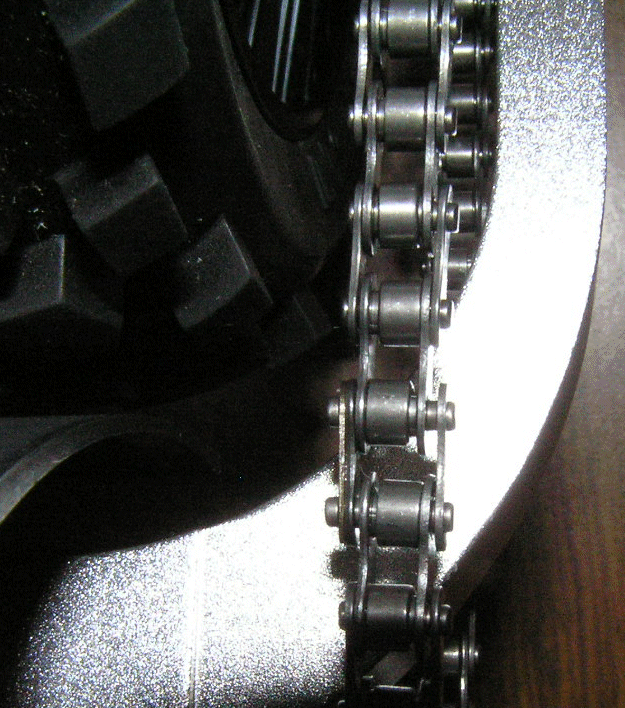
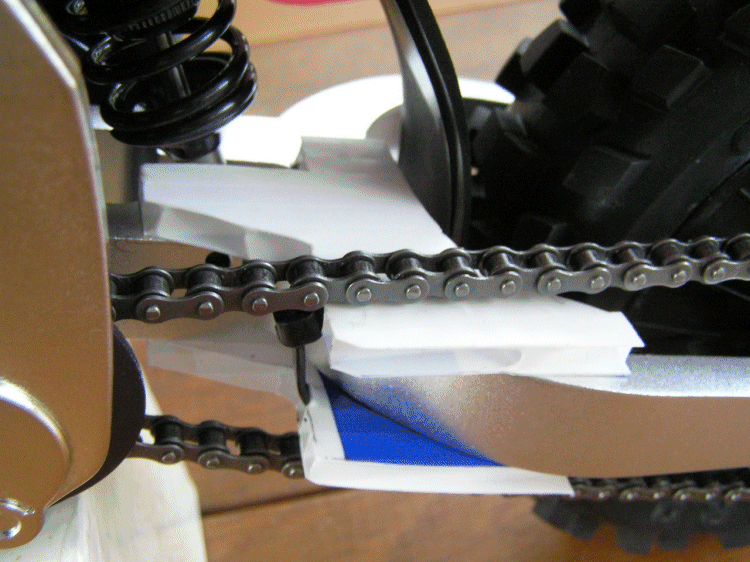
Chain Tension:
The stock chain is going to stretch a lot
in the first few minutes of running. (I strongly recommend
getting the
ARX540 chain replacement as it is much stronger and less
prone to jumping the sprockets and bending or breaking the drive shaft.)
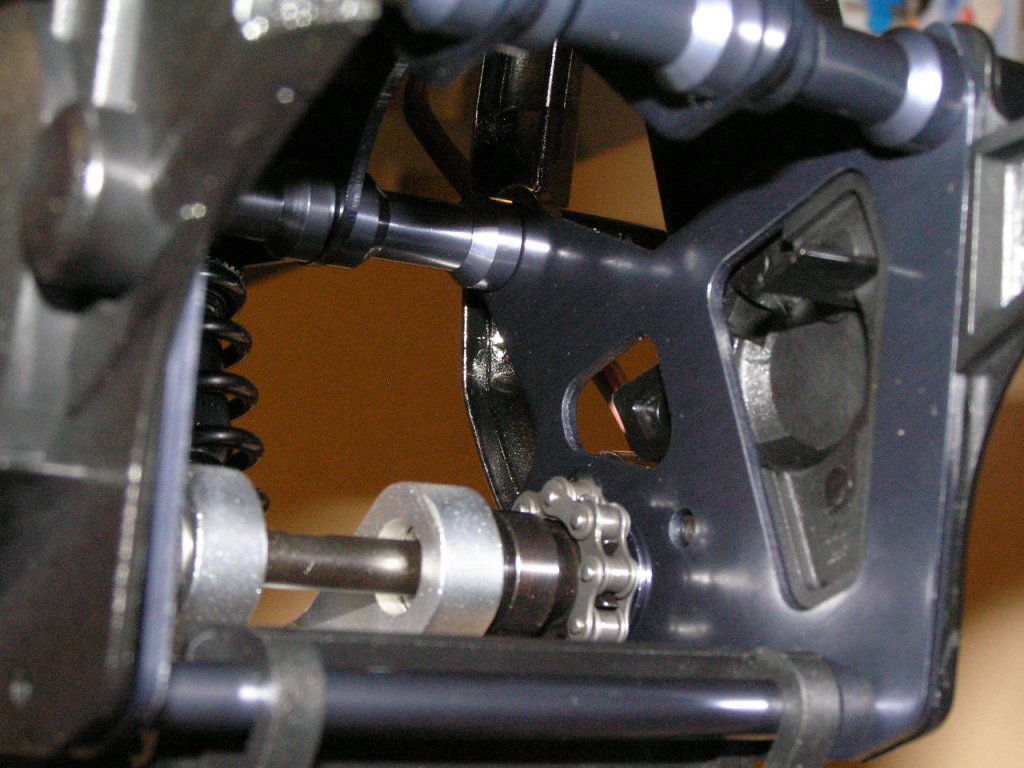
Apply a small amount of loctite to the
tentioner set screws to prevent them from
moving, while
allowing some movement for frequent adjustments.
Do not over-tighten the rear shaft end
nuts as it may bind up the gyro. The set screws must be used to
prevent the shaft from moving forward.
Run
the whole drive train on the bench for 15mins or so to bed
everything in before doing an actual run (which adds uneven
loads)
Check the gyro is running smoothly after
3/4 throttle and should continue running for a while after
stopping the rear wheel.
Continue to retention the chain but be
sure to not over-tighten it. It should have about >=5mm of play in
the centre of the chain.
Keep an eye on it during first run as it
may come
loose and jump off the sprocket, causing a lockup and bend the main
drive
shaft.
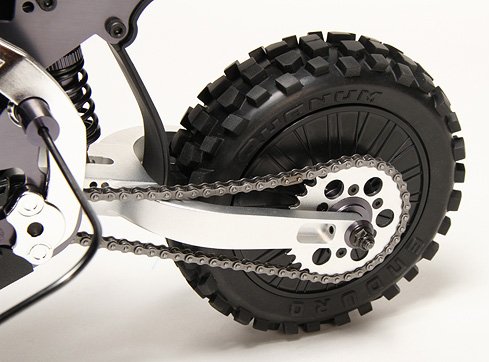
Optionally, make a
chain slider out of some 5mm
Corflute and secure it with 2 zip ties. This helps reduce chain
slap and eliminates jumping off the sprockets. It will also
protect the swingarm. This is more simple than a chain guide and
works quite well.
Optionally, make a
chain guide to feed into the rear sprocket.
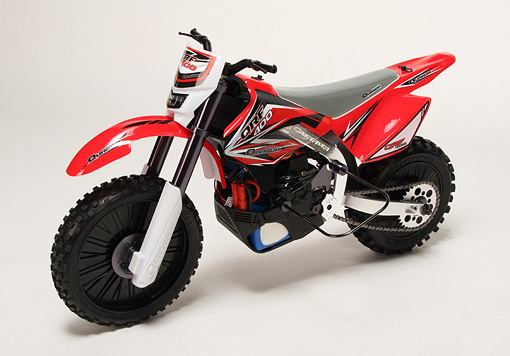
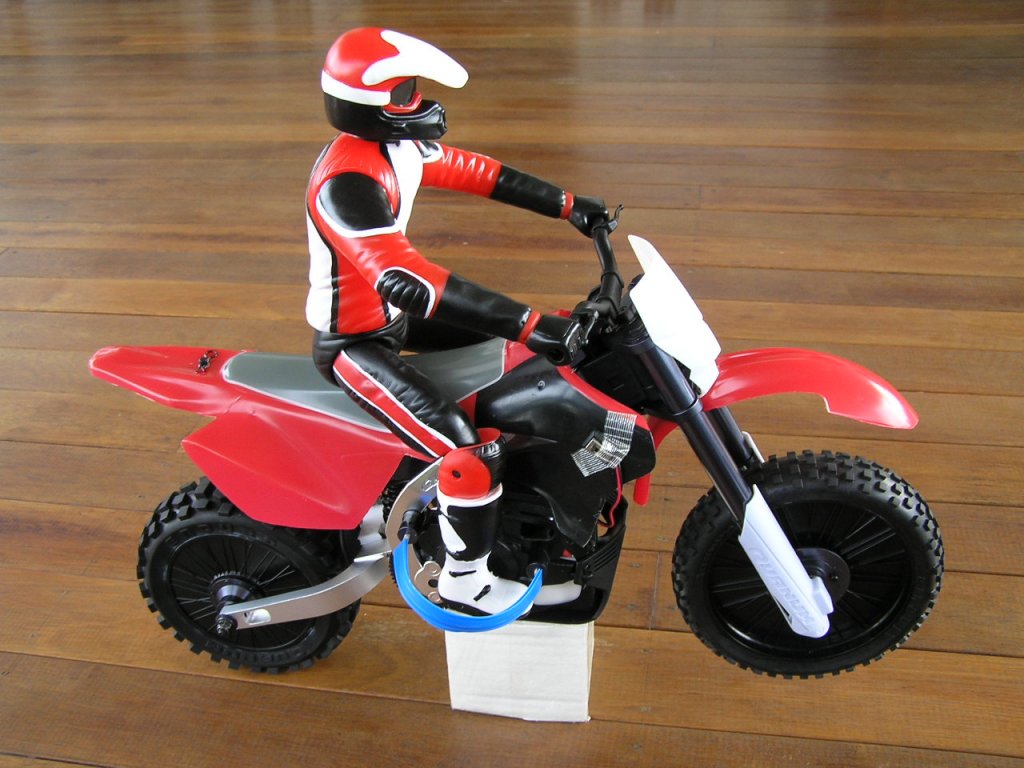
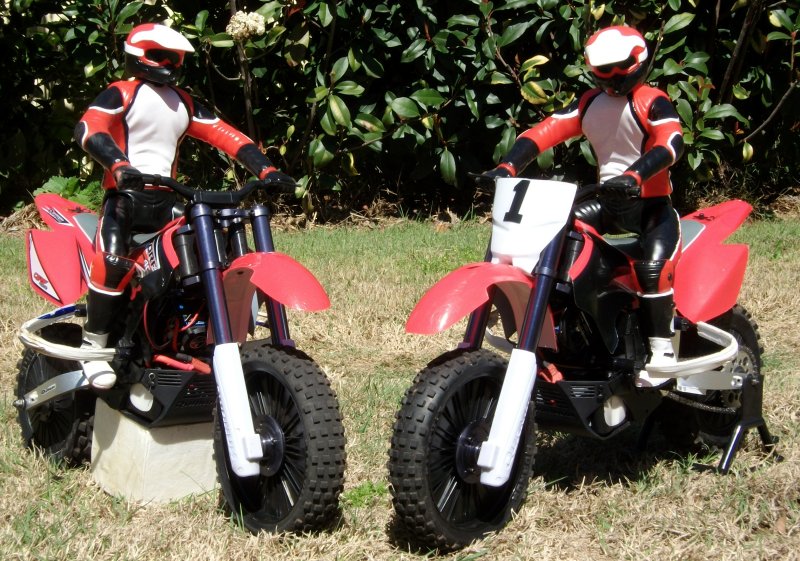
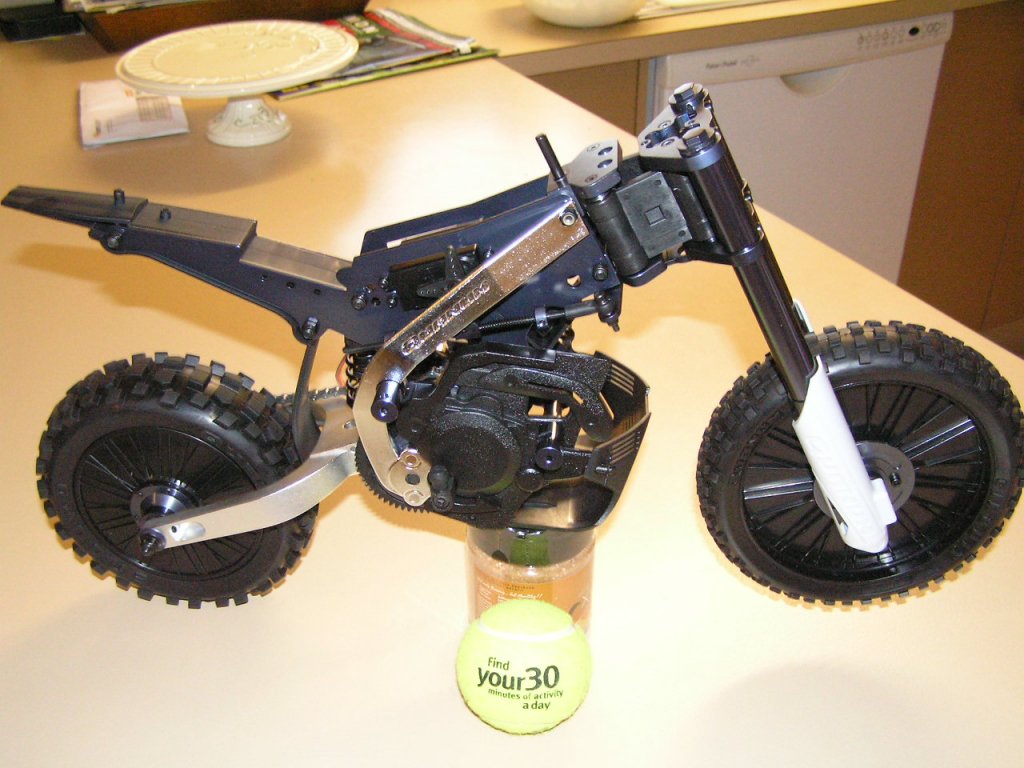
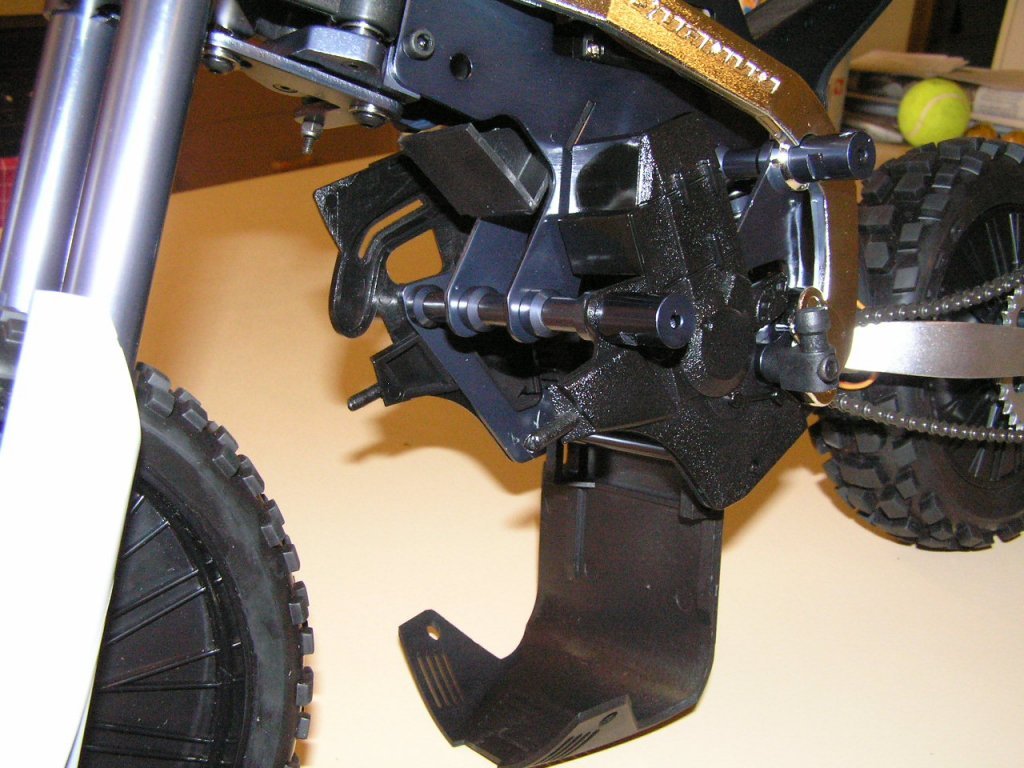
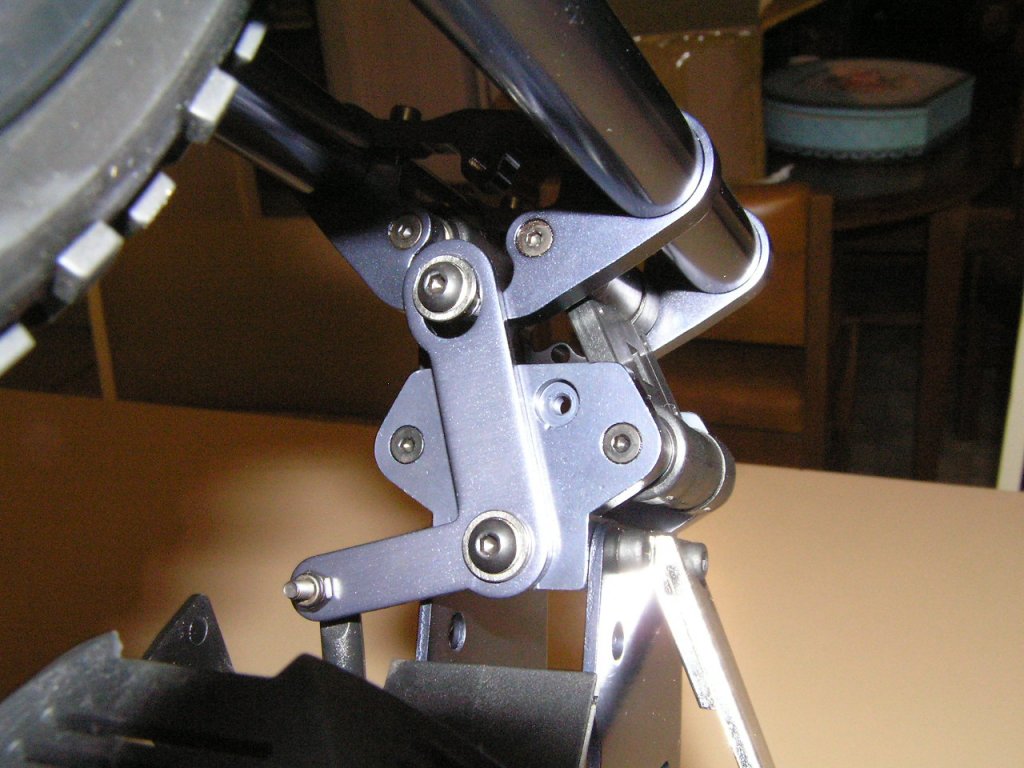
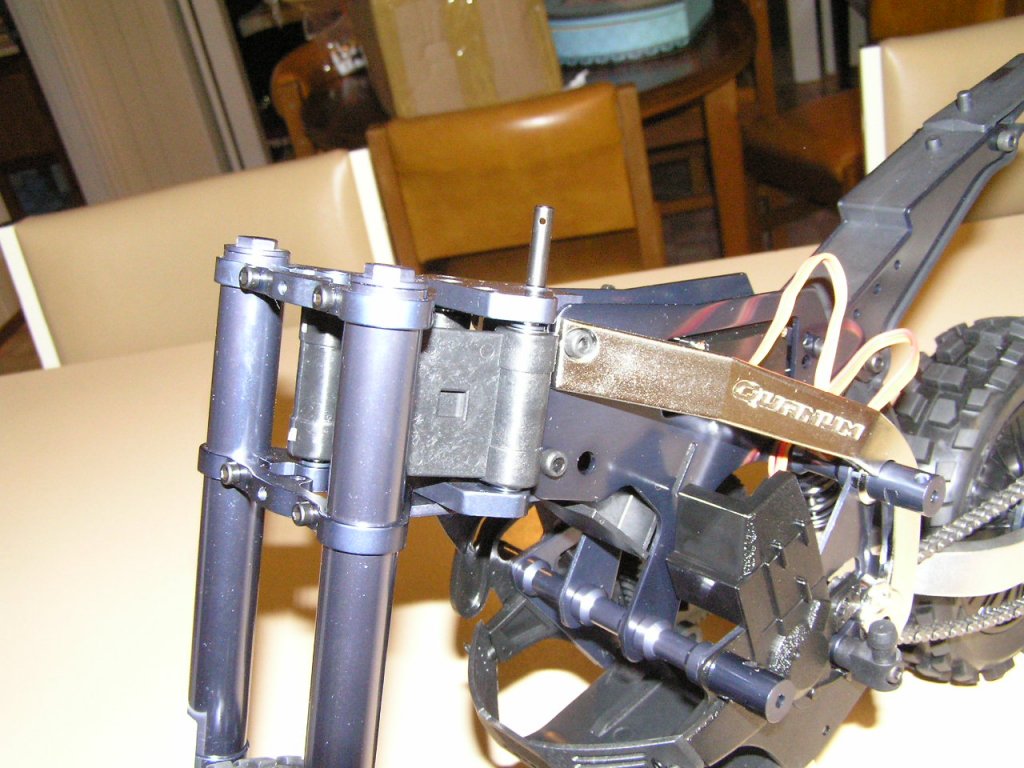
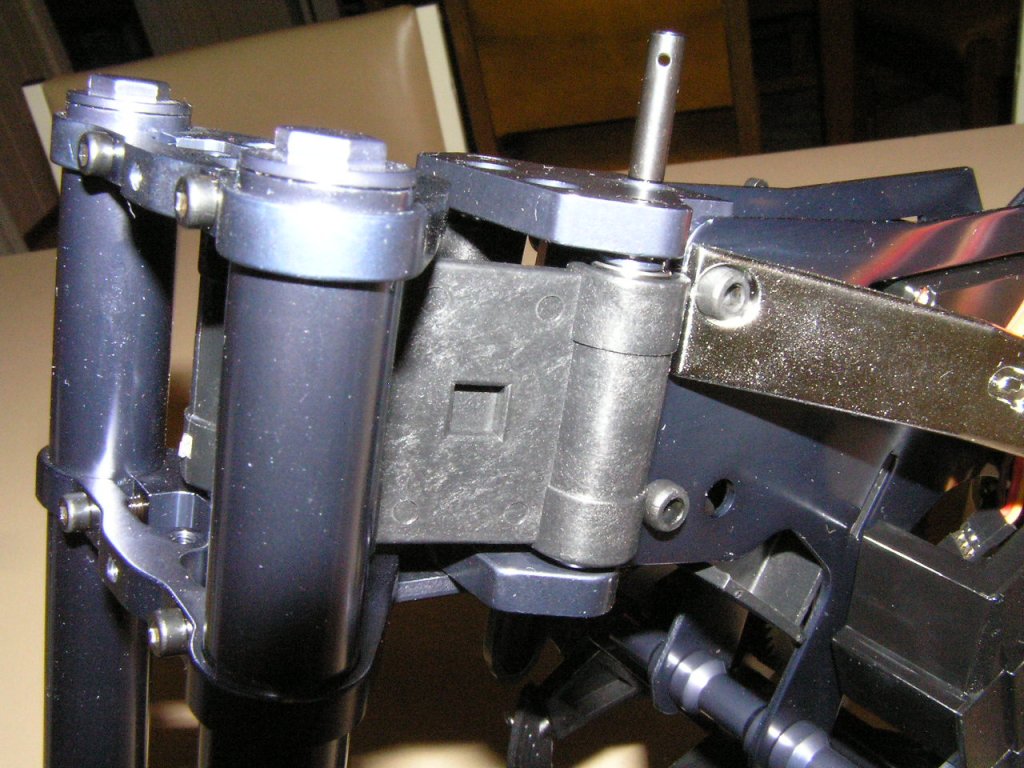
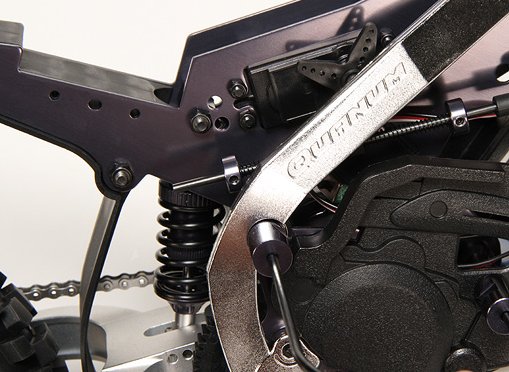
"Crash" Bars:
These need reducing in size as they dig
in during normal cornering and cause more crashes than prevent.
I cut about 50mm (2") off one leg of each
bar and straightened the 90 deg. bend on the short side somewhat
and made a gentle but constant radius bend all the way around to the other 90deg. bend.
then put a small 30deg. bend in the longer side
about 40mm from the end. This resulted finally after some
careful shaping in a "D" shape with legs parallel and the
correct distance apart to fit the bike mounts.
I added some 3mm corflute to provide some
extra "floatation" in the soft dirt.
Rather than loctite the set screws, I
placed tape over the screw holes to prevent them disappearing
since they get removed a lot during any maintenance. Despite no
loctite, I haven't had one come loose yet, possibly due to a
slight spring condition setup by the bar legs.
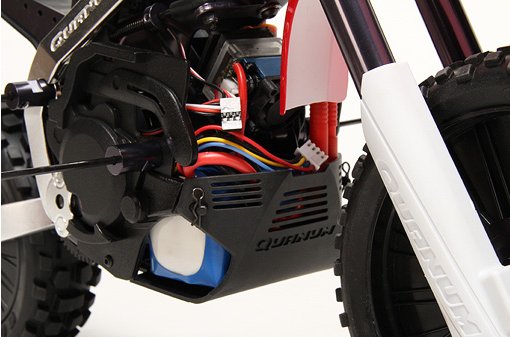
The stock Servo has performed fine and I have had no need to replace it.
The stock Motor has quality issues and
several owners have had them burn out, mine was no exception.
Consider replacing with
the
Ez-Run 3000Kv Inrunner which has same shaft size as stock
(3.17mm) and you can use the 10T stock pinion.
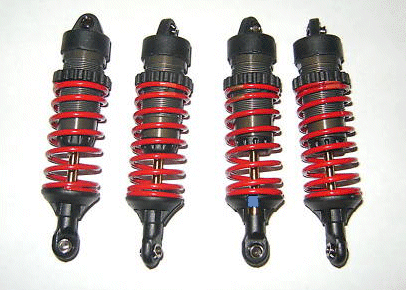
You can usually get these in packs of 4 and they are good value and provide for longer travel. Replace the lower nylon link with the stock metal link from the original Shock.
If not replaced the lower link will snap open under full rebound, generally during an end-over.
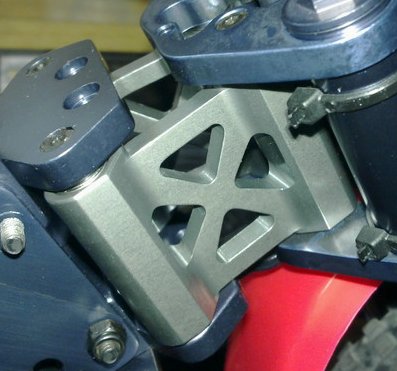
Alloy Steering block upgrades
I prefer the Nylon blocks so as to have a weak point to break if you run
into something.
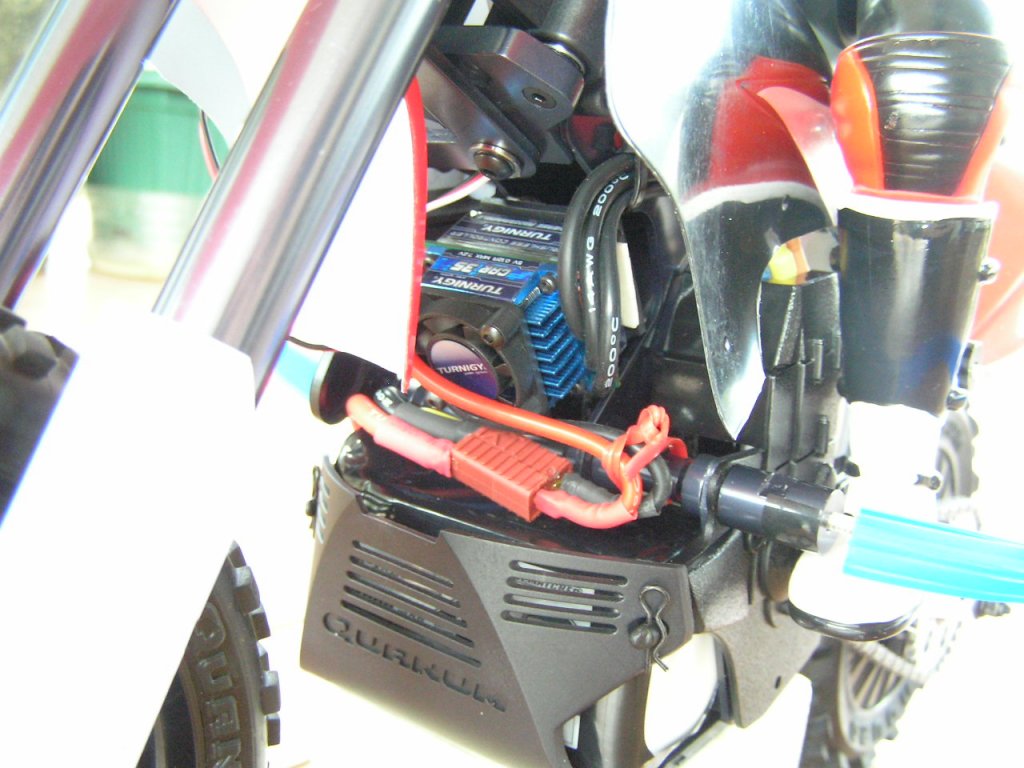
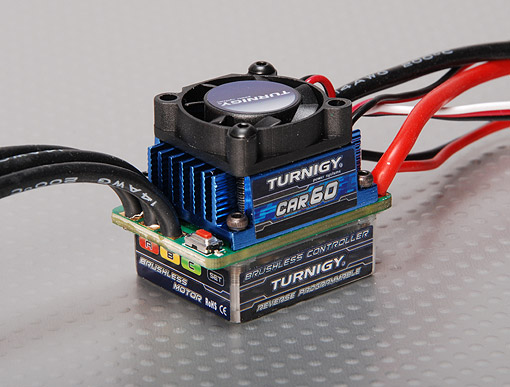
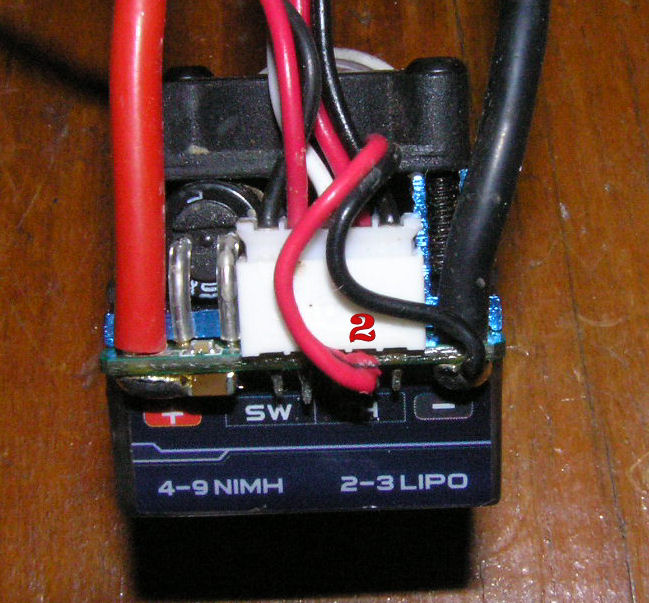
So far after many hours this ESC has been bullet proof. Barely gets warm
with that fan.
Be sure to do the mod to connect the fan +ve (red) wire to the ESC 5volt
output, 2nd pin on the right.
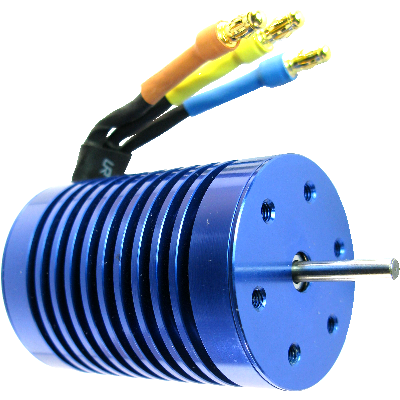
Optional Motor replacement: EZ-RUN Brushless Motor 13T 3000Kv
(shaft is 3.17mm and this motor is a direct replacement for the stock
unit. Bit down on power though)
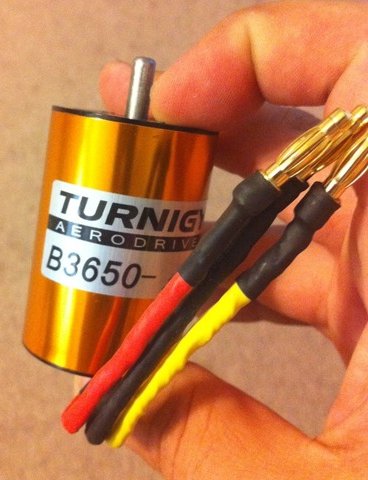
Optional Motor replacement: Turnigy Aerodrive 2300Kv
(shaft is 5mm so you'll need a new 15T pinion but this motor has loads
more power than the stock
unit)
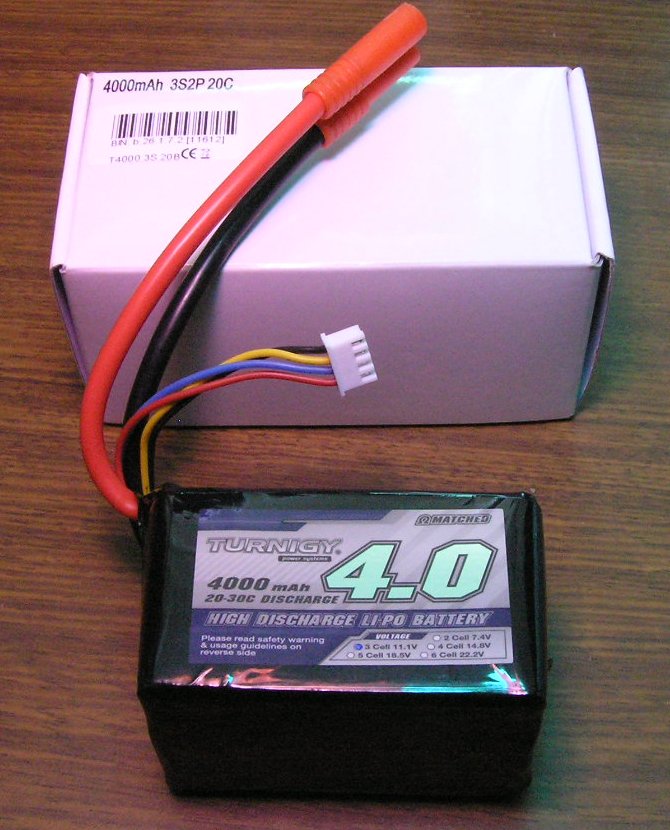
Battery: Turnigy 4000mAh 3S2P 20-30C Lipo pack
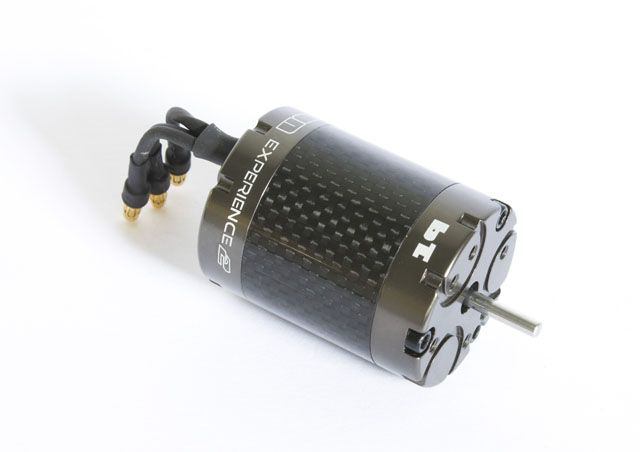
Stock motor: fitted with a Team Orion-like ORI28173 Experience 2 brushless
motor
KV (RPM/V) 2840
Input NiMH/NiCd 6-8 cells,
LiPo/LiFe 2-3 cells
Max continuous current 50A
Max peak current (10S) 70A
Resistance (mOhm) 23.0±0.8
No load current 1.6A
Recommended Timing 2° – 5°
Shaft lenght 14mm
Shaft diameter 1/8 inch – 3.175mm
Dimensions 46.4x36.1mm
Weight 170g


